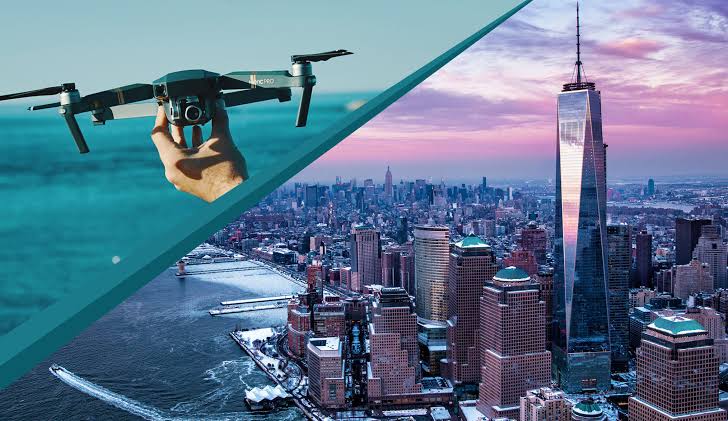
Discover how to capture stunning aerial photos with drones. Learn essential tips on drone features, planning shoots, mastering camera settings, and composition techniques to create breathtaking aerial images.
Drone Photography: How to Take Aerial Photos that Amaze
In recent years drone photography has revolutionized way we capture and view our world. Offering bird’s-eye perspective, drones enable photographers to explore angles and compositions that were once difficult or impossible to achieve. Whether you're professional photographer looking to expand your repertoire or hobbyist eager to explore new medium mastering aerial photography with drones involves understanding both technical and artistic elements of craft. This article delves into essentials of drone photography. It offers insights and tips to help you capture breathtaking aerial images
Understanding Your Drone
Before diving into intricacies of aerial photography it's crucial to understand equipment you’re working with. Different drones come with various features that impact photographic capabilities.
Camera Quality: Quality of drone’s camera is paramount. While many drones are equipped with high-resolution cameras, specifications can vary. Look for drones with cameras that offer at least 12 megapixels for clear high-quality images. Additionally, consider drones with adjustable aperture settings for better control over exposure and depth of field.
Stabilization Technology: Most modern drones come with built-in gimbals that stabilize camera and minimize effects of drone movement. This is essential for capturing sharp clear images. Ensure your drone has robust stabilization system to reduce motion blur and maintain image clarity.
Battery Life and Range: Flight time and range of your drone affect how long you can spend capturing images. Higher-end drones typically offer longer flight times and extended ranges. This allows you more flexibility in capturing perfect shot. Carry extra batteries to extend your shooting session.
GPS and Navigation: Accurate GPS and navigation systems help ensure drone maintains stable flight and returns safely. Familiarize yourself with these systems. This will help you avoid losing your drone. It will also optimize its positioning for best photographic results.
Planning Your Shoot
Effective planning is key to capturing stunning aerial photos. Consider following aspects when preparing for drone photography session.
Location Scouting: Identify locations that offer interesting landscapes or architectural features. Use tools like Google Earth to explore potential sites. Plan your shots in advance. Pay attention to time of day and how light will interact with your subject .
Weather Conditions: Weather plays significant role in aerial photography. Ideally shoot on clear calm days with minimal wind to ensure stable drone flight and optimal image quality. Check weather forecasts. Avoid flying in adverse conditions such as heavy winds or rain .
Legal Considerations: Ensure you are aware of and comply with local regulations regarding drone flights. Many areas require permits or have specific restrictions on where and when drones can be flown. Understanding these regulations is crucial for both safety and legality.
Mastering Camera Settings
Once you’re on location fine-tuning your drone’s camera settings can make significant difference in quality of your photos.
Exposure Settings: Proper exposure is essential for capturing well-balanced images. Use manual mode to adjust shutter speed, aperture ISO settings according to lighting conditions. A slower shutter speed can capture more light. A faster speed can freeze motion and reduce blur.
White Balance: Adjust white balance settings based on lighting conditions. This ensures that your images have accurate color representation. For most outdoor shoots, setting white balance to daylight or sunny will yield best results.
Focus and Sharpness: Ensure your drone’s camera is focused correctly before taking shot. Some drones offer automatic focus. Others may require manual adjustment. Sharpness is crucial for detailed images so adjust your camera settings accordingly.
Image Format: Shoot in RAW format if your drone supports it. RAW files retain more detail and allow for greater flexibility during post-processing compared to JPEGs. This is particularly useful for correcting exposure or color issues after shoot.
Composition Techniques
Aerial photography offers unique opportunities for creative composition. Use these techniques to enhance visual impact of your images:
Leading Lines: Utilize natural lines in landscape such as roads, rivers or patterns, to guide viewer’s eye through image. Leading lines help create depth. They direct attention to focal points.
Symmetry and Patterns: Look for symmetrical elements or repeating patterns from above. Aerial views can highlight geometric shapes and patterns. These may not be as noticeable from ground level.
Perspective and Scale: Capture images that showcase scale and perspective of scene. Aerial shots can reveal how objects relate to their surroundings. They provide a sense of scale that ground-level shots may not convey.
Lighting and Shadows: Consider position of sun and how it affects shadows and highlights. Early morning or late afternoon provides softer more diffused light. This can enhance texture and depth of your images. Experiment with different times of day to find best lighting conditions
Post-Processing Techniques
Post-processing is essential step in refining aerial photos and bringing out full potential. Use image editing software to enhance colors correct exposure, remove any imperfections
Color Correction: Adjust color balance and saturation to ensure images are vibrant and true to life. Tools like Adobe Lightroom or Photoshop offer various options for color correction and enhancement
Exposure Adjustments: Fine-tune exposure settings to correct any overexposed or underexposed areas in images. Use tools to adjust highlights shadows and contrast for well-balanced final result
Cropping and Straightening: Crop images to remove unwanted elements or distractions. Straighten them if necessary. Cropping can also help improve composition and focus on main subject
Sharpening: Apply sharpening to enhance details in images. Be cautious not to over-sharpen as this can introduce noise and artifacts
