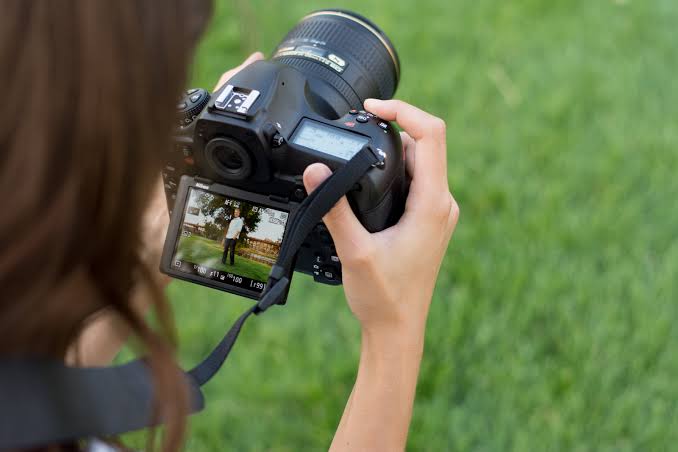
Embarking on journey of photography can be both exciting and overwhelming. Especially with plethora of features and settings on modern cameras. Understanding your camera is the first step toward capturing stunning images. Also expressing your creative vision. This beginner's guide aims to demystify essential aspects of your camera. Helping you to become more comfortable and confident in using it to its full potential.
Getting to Know Your Camera
Before diving into technicalities it is important to familiarize yourself with basic components of your camera. Most digital cameras, whether DSLRs or mirrorless share common features. These include lens, viewfinder LCD screen, shutter button. Also mode dial and various buttons and dials for adjusting settings. Spend some time exploring your camera’s manual. Understand the purpose of each component.
The Exposure Triangle
One of the fundamental concepts in photography is exposure triangle which comprises three key elements. Aperture, shutter speed and ISO. Mastering interplay between these elements is crucial. For achieving the desired exposure and creative effects in your photos.
Aperture
Aperture refers to size of opening in lens through which light enters camera. It is measured in f-stops. Lower f-stop number indicates larger aperture. This allows more light to enter and creates shallow depth of field. It is useful for portraits. You want a blurred background for these. Conversely higher f-stop number means smaller aperture. Less light, deeper depth of field which is ideal for landscapes. You want everything in focus for these.
Shutter Speed
Shutter speed is the duration for which the camera's shutter remains open to allow light onto the sensor. It is measured in seconds or fractions of a second (e.g., 1/1000, 1/60, 1/4). A fast shutter speed freezes motion, which is perfect for capturing action shots or moving subjects. A slow shutter speed allows more light and can create motion blur, which can be used creatively for effects such as light trails or smooth water in landscapes.
ISO
ISO determines the sensitivity of the camera's sensor to light. A lower ISO (e.g., 100 or 200) produces images with less noise (graininess) but requires more light, making it suitable for bright conditions. A higher ISO (e.g., 800, 1600, or higher) increases the sensor's sensitivity, useful in low-light situations, but can introduce noise. Balancing ISO with aperture and shutter speed is essential for achieving the desired exposure while maintaining image quality.
Understanding Camera Modes
Modern cameras come with various shooting modes to help you achieve different creative effects. These modes can be found on the mode dial, usually located on the top of the camera.
Auto Mode
In Auto mode, the camera makes all the decisions regarding aperture, shutter speed, ISO, and other settings. This mode is useful for beginners who are just starting and want to capture images without worrying about technical details. However, it limits creative control and may not always produce the desired results.
Program Mode (P)
Program mode allows the camera to set the aperture and shutter speed automatically while giving you control over other settings like ISO, white balance, and flash. This mode offers a balance between ease of use and creative control.
Aperture Priority Mode (A or Av)
In Aperture Priority mode, you set the aperture while the camera adjusts the shutter speed to achieve proper exposure. This mode is ideal for controlling depth of field, allowing you to focus on creative aspects while the camera handles the exposure.
Shutter Priority Mode (S or Tv)
Shutter Priority mode lets you select the shutter speed while the camera adjusts the aperture. This mode is useful for capturing motion, giving you control over how movement is rendered in your images.
Manual Mode (M)
Manual mode gives you complete control over all settings, including aperture, shutter speed, and ISO. This mode requires a good understanding of the exposure triangle but offers the greatest creative freedom.
Focusing Techniques
Achieving sharp focus is essential for capturing high-quality images. Modern cameras offer several focusing modes and techniques to help you achieve this.
Autofocus (AF) Modes
Most cameras have multiple autofocus modes, such as Single AF (AF-S or One-Shot AF) for stationary subjects and Continuous AF (AF-C or AI Servo AF) for moving subjects. Understanding when to use each mode is key to capturing sharp images.
Manual Focus
Manual focus allows you to adjust focus manually using the focus ring on the lens. This mode is useful in low-light conditions or when precise focus is required. Many cameras also offer focus peaking, which highlights the in-focus areas to assist with manual focusing.
Composition Tips
Composition is the art of arranging elements within the frame to create a visually pleasing image. While there are no strict rules, some guidelines can help you improve your compositions.
Rule of Thirds
The rule of thirds involves dividing the frame into a 3x3 grid and placing the subject along these lines or at their intersections. This creates a balanced and dynamic composition.
Leading Lines
Leading lines are natural or artificial lines that guide the viewer's eye through the image toward the main subject. Examples include roads, rivers, fences, or architectural features.
Framing
Using elements within the scene to frame the subject can add depth and focus to your image. This can be achieved with natural features like trees or man-made objects like doorways.
Post-Processing Basics
Post-processing is the final step in creating stunning images. Software like Adobe Lightroom or Photoshop allows you to enhance your photos by adjusting exposure, contrast, color balance, and sharpness. Learning basic post-processing techniques can significantly improve the quality of your images.
